Learn how to import SDK Package and do basic testing for your environment.
Prerequisites
We assume that you have an understanding of what virtual reality is and the terms it uses. If not, check the Unity glossary.
Before using the QIYU VR SDK, we highly recommend that you to read Unity’s XR document, then correctly install the Unity Editor and ADB debugging tools.
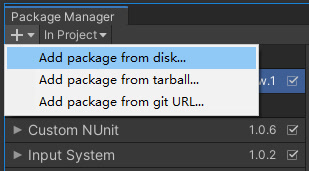
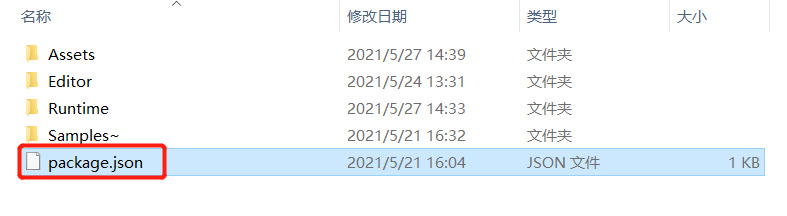
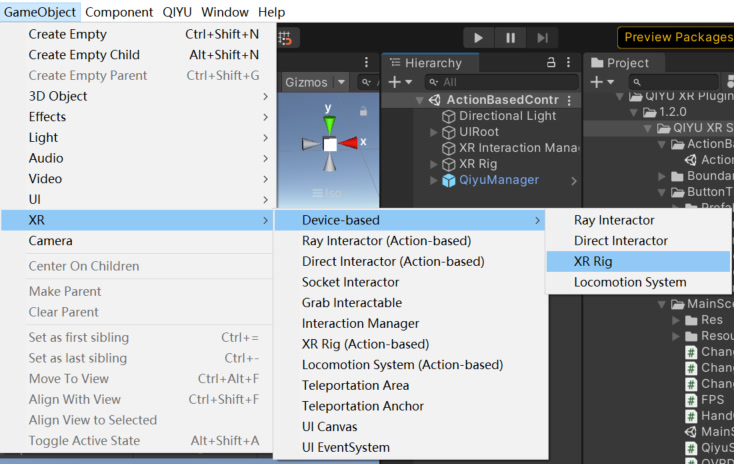
Menu -> Window -> PackageManager, Click Add -> Add package from disk,Select package.json, and import the Plugin.
Fig 2.3 Import SDK
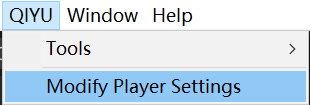
Import QIYU Platform SDK
If the applications will live on the QIYU store, The QIYU Platform SDK must be imported after importing QIYU XR Plugin. Otherwise, the application will be refused when uploading to QIYU platform. Please refer to the QIYU Platform SDK(opens new window).
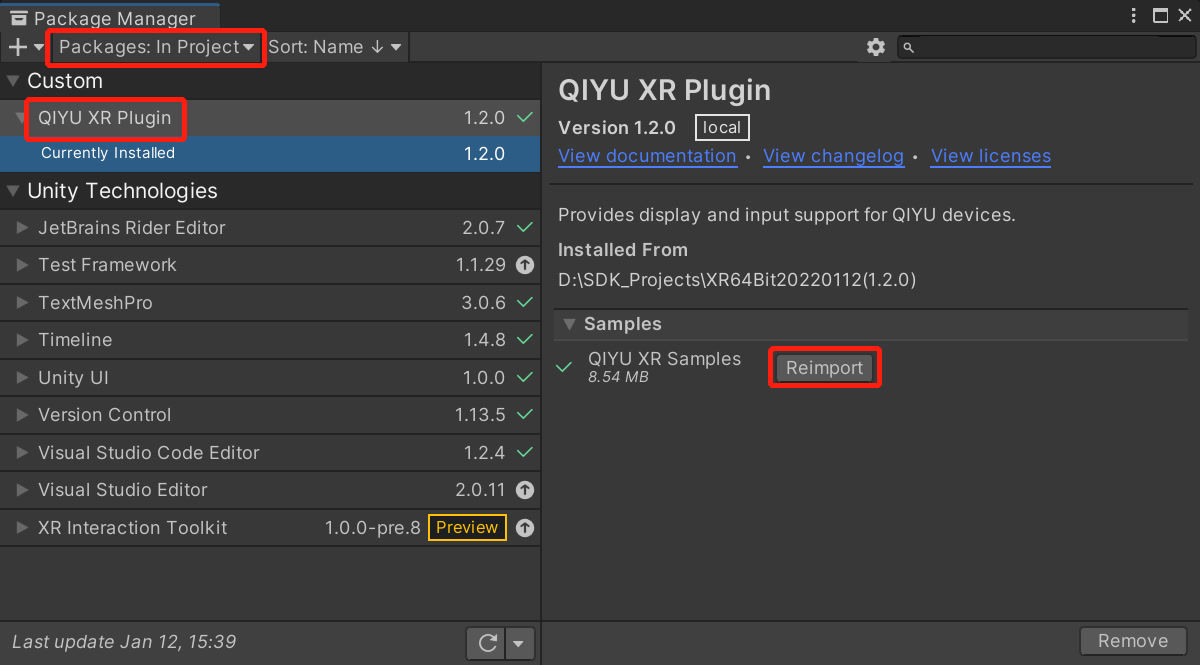
After Import, "QIYU XR Plugin" and "QIYU Platform SDK" will be displayed in packageManager. If necessary, click "Import Into Project" to import our Sample Project.
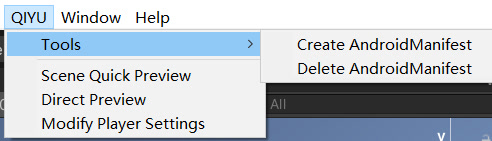
If you need a custom AndroidManifest.xml file, click "QIYU->Tools->Create AndroidManifest" to create a default xml file and modifies it. When not needed, you can click the Delete button to Delete the file.
Fig 2.9 Create AndroidManifest
Note: If your application cannot appear in library of QIYU Device, please adding the following codes into AndroidManifest.
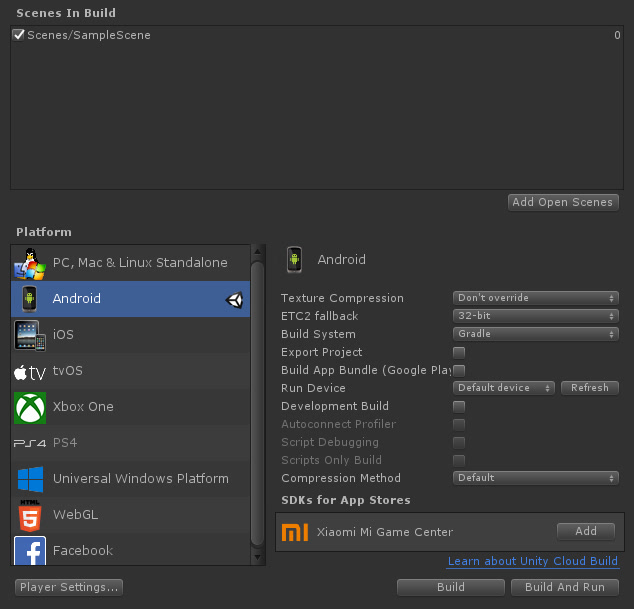
Build and Run on QIYU Device. If your application has been already released on QIYU APP store, the Bundle version code of the updated application must higher than the one's in the store, please refer to FAQs(opens new window).